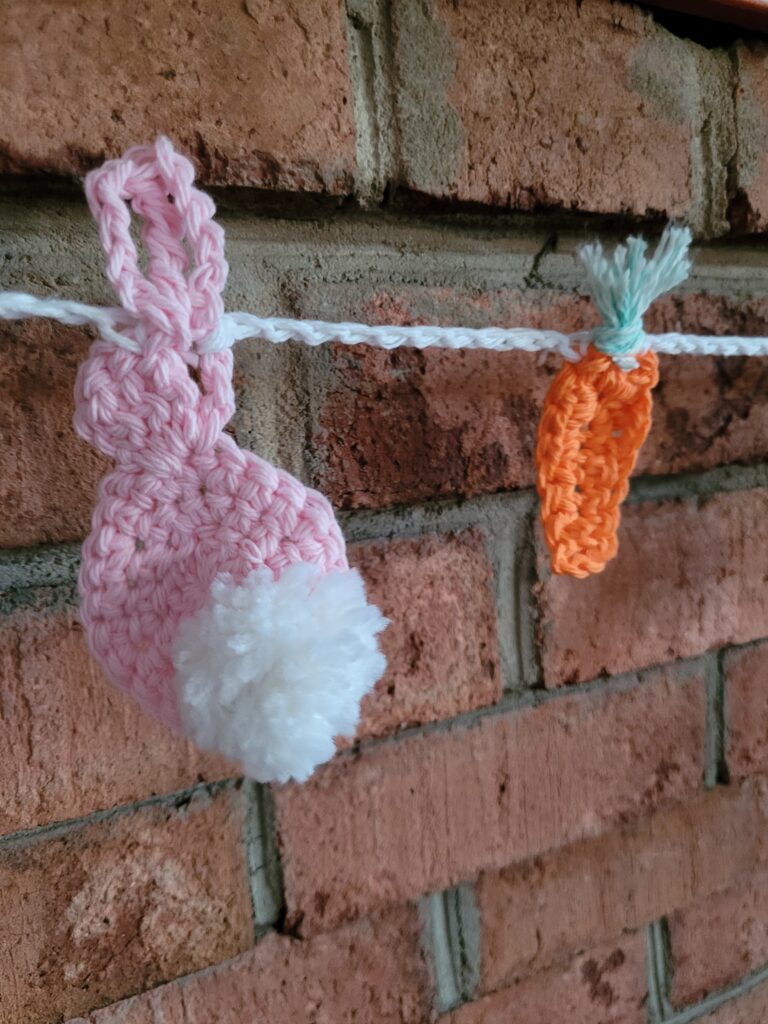
Earlier this season I found a pattern for bunny and carrot bunting perfect to make for ringing in the Easter and spring season. I quickly made the bunting and was so impressed with the ease of making it, how quickly it worked up, and how precious it turned out that I knew I was going to have to use the bunny and carrot somewhere else. Later as I was mindlessly scrolling Pinterest, I stumbled onto this crochet Easter basket pattern and knew that it had be paired with the crochet bunny and carrot from the bunting pattern.
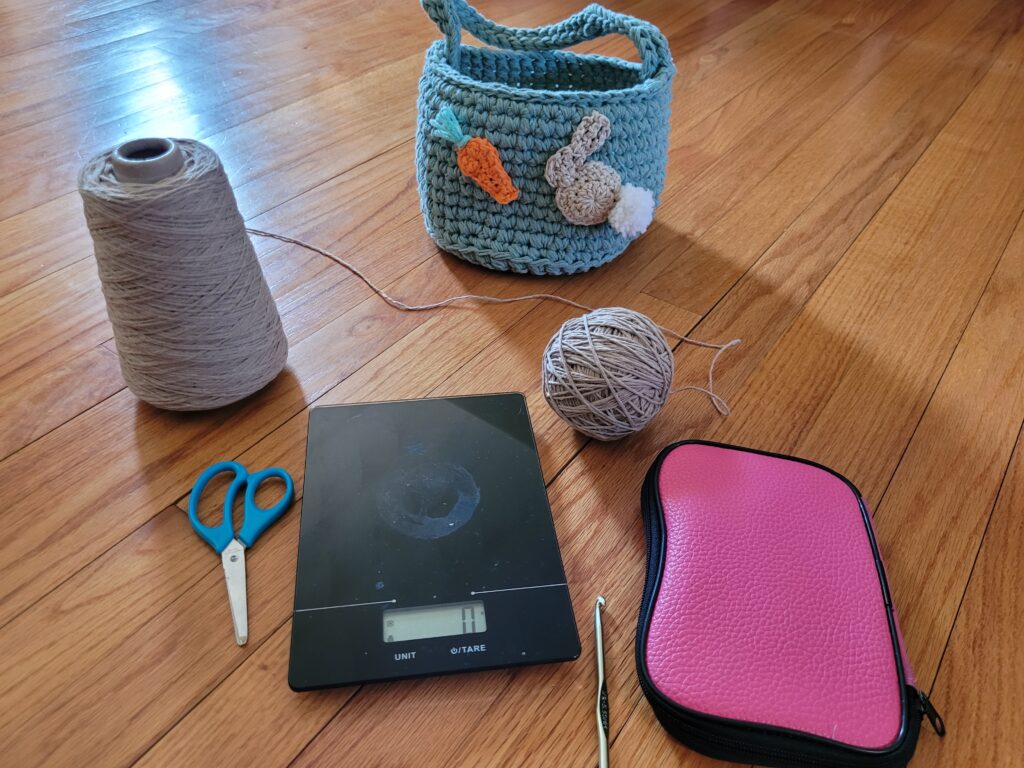
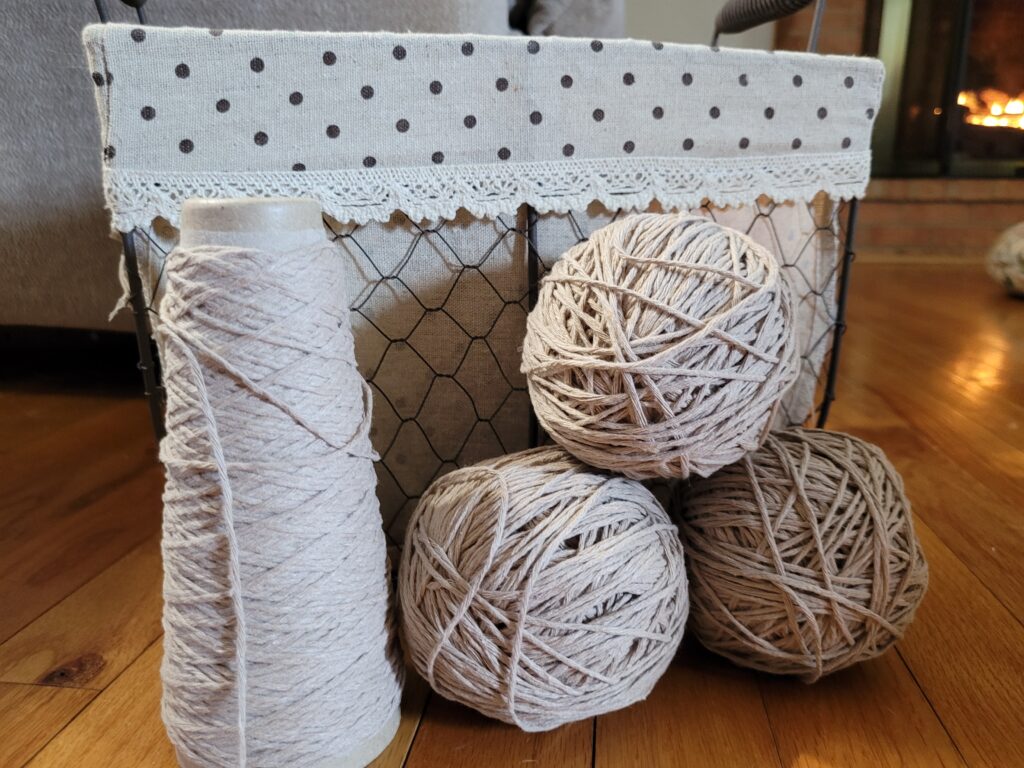
After finishing an Easter basket for my son, I decided to document my process as I duplicated a basket for my daughter, and thought I would bring you along to see how it comes together. I used all products that I already had on hand, because I didn’t want to waste time looking for items when I could use what I have. For the basket, the pattern, found here (https://www.deliacreates.com/basic-crochet-easter-basket-free-pattern/) recommends 415 yards of worsted weight 4 yarn. She says the scratchier the yarn the better. I opted for cotton 4 yarn. While I love the texture and the look of the stitches, this gave me a floppy handle as the cotton yarn is too soft. Because i had a lot of no. 4 cotton yarn but on a spool/ cone, i had to divide this. You don’t have to get super fussy dividing the yarn, but i did find it helpful to use my kitchen scale for reference. Once I had the first ball rolled, I could refer to it for size reference on subsequent rolls. I also found in doing my son’s basket first that with this basket designed for a 4 year old boy, I didn’t like the construction / design for the handle. Hers looks phenomenal- but my 4 year old quickly put it to the test. With constructing the handle separately as she instructs, it makes it a little weaker I my opinion, so when I got to work on my daughter’s I did NOT cut the yarn on row 14. Instead, I began row 15 and I got to stitches 24-26 I began rows of 3 single crochet stitches coming up for my handle. I continued this for about 36 rows and then connected on the opposite side of the basket with slip stitches in stitches 48-50. I then continued the slip stitch from stitch 48 back around to meet the other handle. I’m not crazy about the unfinished edges of the handle but feel this basket is definitely more stable than my first.
Once I finished my basket, cut a tail and wove in the ends, I then started my bunny applique. You can find that pattern here (https://www.goldenlucycrafts.com/easter-bunny-applique-crochet-pattern/). Here, I again used cotton #4 yarn- except for the tail, and i used an I hook. When I made my son’s basket I found that cotton yarn just doesn’t give the same effect as worsted weight for a pom-pom. Luckily there’s no shortage of yarn around here. I love how sweet these bunnies turned out. Using the tails left on the pom-pom, I attached the pom-pom for the tail before attaching the bunny to the basket.
Next, I worked on the carrot, pattern here https://www.goldenlucycrafts.com/crochet-easter-bunny-applique/ and I made a small modification on the stem. Here, I continued with my I hook and #4 cotton yarn. Instead of following these instructions for stem, I decided to take 3-4 strands of green yarn and attach to the top of the carrot as you would fringe for a scarf / blanket. This was simpler for me and saved a little time. I just love the rough look!
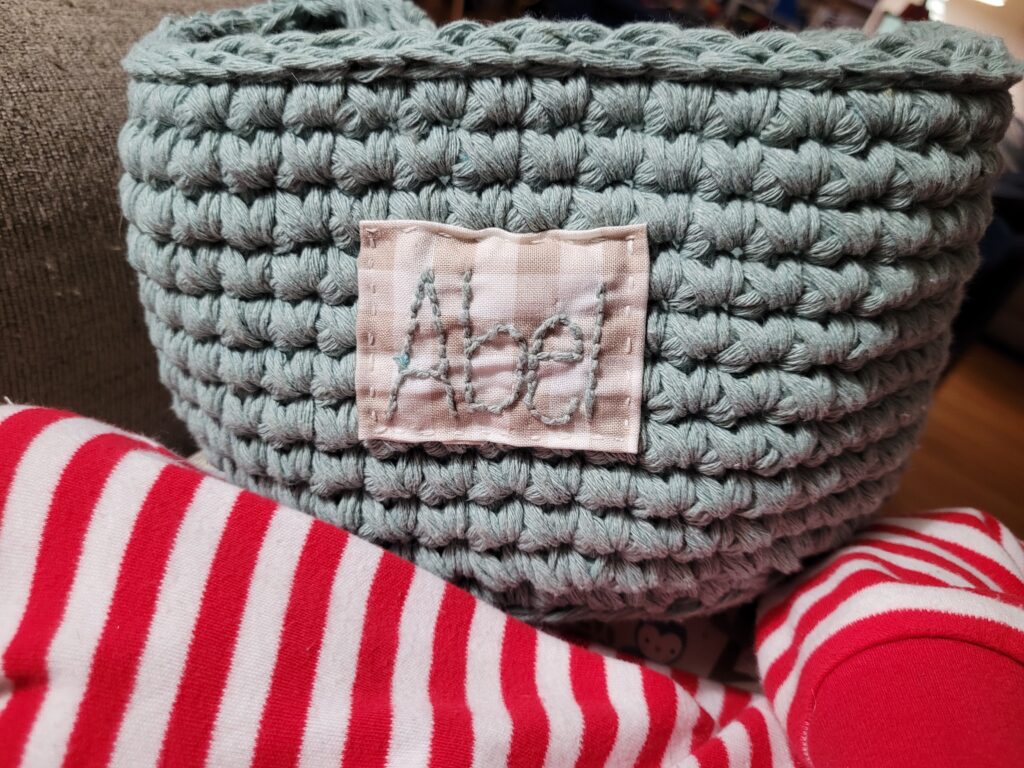
Then, I attached the appliques in the center “front” of the basket. The last piece that I chose to add to these baskets were hand embroidered name tags. I just used a simple backstitch – I had never embroidered before, so know if I can do it you can too! Now, for my son’s I used the yarn I used to crochet the basket in lieu of embroidery thread. My daughter’s ended up looking a bit more tidy because I used actual embroidery thread.
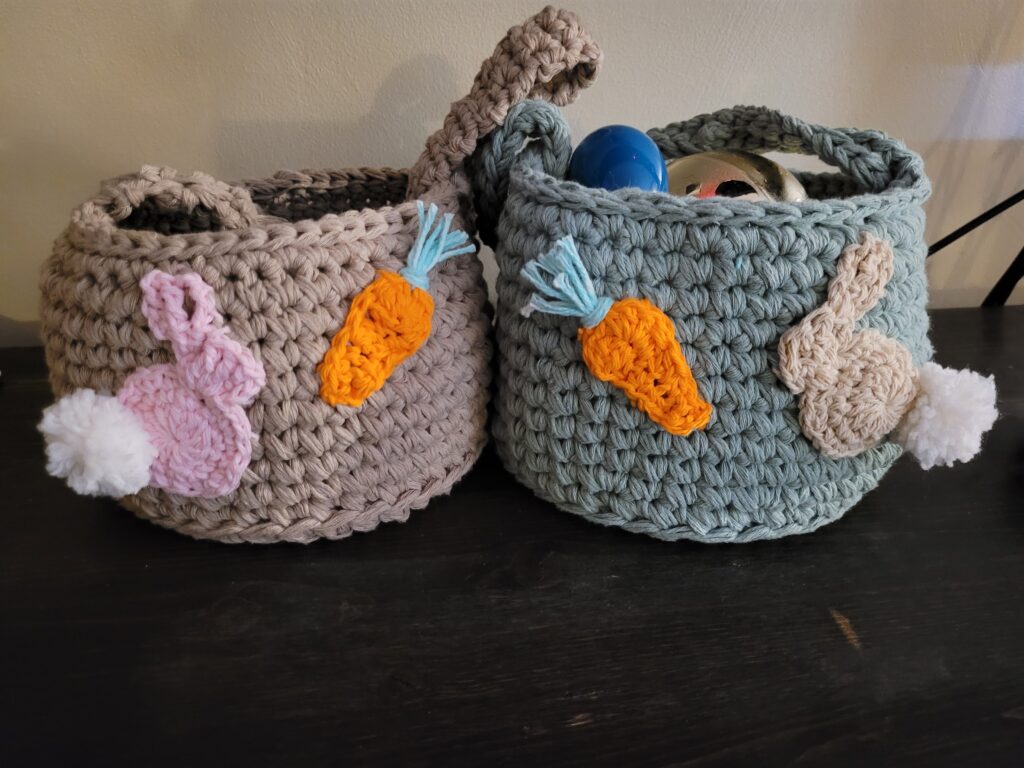
I cannot get over how sweet these turned out!
